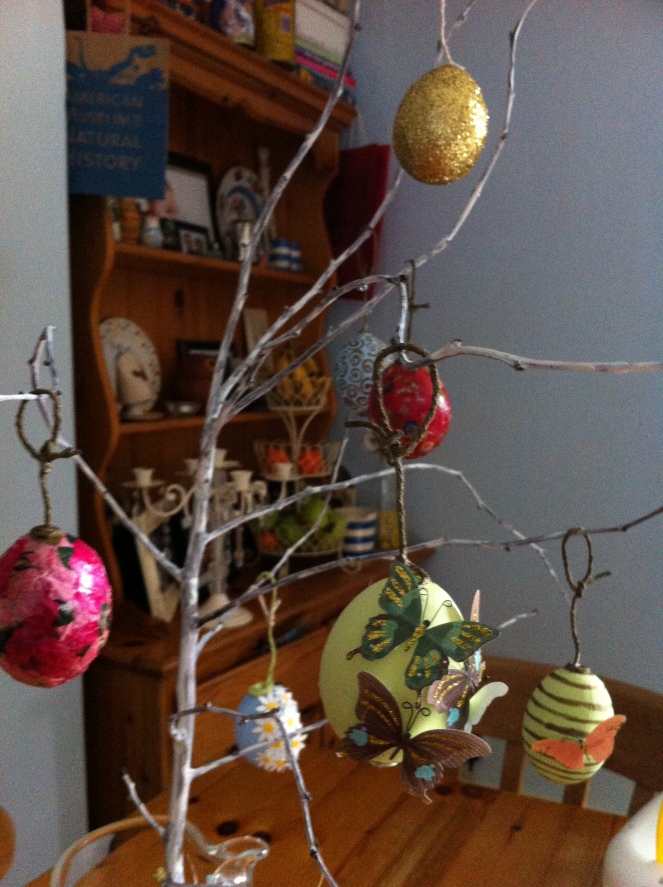
I also love the decorations of Easter. You can create some wonderful displays with eggs, animals and spring flowers. I have created my Easter tree with blown chicken eggs. You can use any type of eggs and some people prefer duck eggs as they are white and create an easy base but chicken eggs work just fine.
You need to blow your eggs. This can be a little bit messy and is certainly harder than you may think. Not due to technicalities but the sheer strength of your blowing (!). You need a pin. Carefully make a hole in both the top and the bottom of your egg, make the hole in the bottom a little bigger than the top hole. You might need to pop the pin in and out a few times to create a big enough hole. Don’t worry if a bit of shell snaps off, you won’t see it once your string is in and it’s decorated.
Then it’s simple…blow really hard in to the top hole. The egg white and yolk will come out (after a little persuasion). If you are struggling stick the pin in and pop the yolk, it might be a bit easier.
Now for decoration. If you are having a base colour you need to paint it on now, you might need two or three coats for a strong colour. You will need to use acrylic paints. Other paint will not stick to the egg shell. You can buy acrylic paints relatively cheaply from art shops or places like Hobbycraft, who sell DecoArt crafters acrylic paint which is easy to use, clean and store, goes a long way and is cheap.
Once your egg is dry you need to thread your string. I painted my string with gold paint beforehand but you could just as easily pick a nice coloured string to start off with. I only painted it as I only had white boring string! Depending on how your egg blowing went you might need to cover a bit at the bottom of the shell or at the top. I found coiling a really good way to do this. If you need to disguise a chip in the top of your egg or close the hole a bit then soak the end of your string in PVA glue then coil it over the top of the egg two or three times. Hold your string to your egg for a minute or two to set and then leave to dry. If you need to disguise the bottom then thread through your string and coil at the bottom once PVA soaked. Once dry you will have a disguse for any broken bits from blowing and a nice design for the string.
Next for the fun bit…decoration!
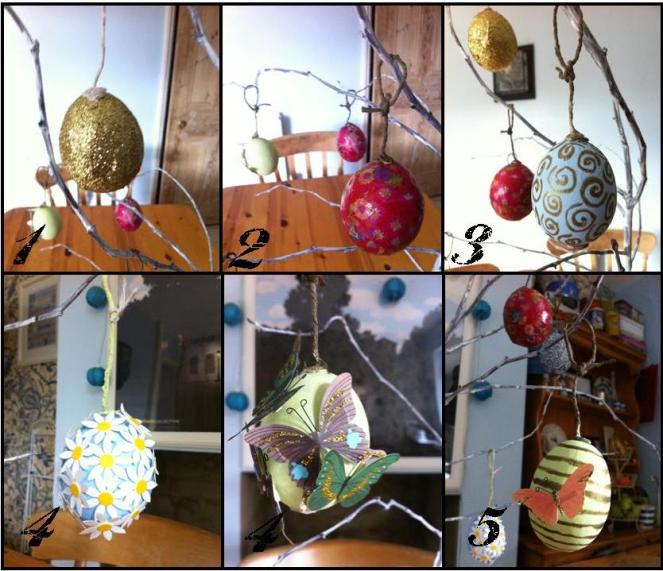
1) My golden egg…simply cover in PVA and roll in gold glitter. Obviously any colour glitter works. A really easy but stunning egg design.
2) Decoupage eggs. Hobbycraft has a nice selection of decopatch paper which is on 3 for 2. You can use any tissue paper or wrapping paper but decopatch really does work best, the ink doesn’t run and the finish is smooth. I just use PVA, paint the egg in PVA and over lay strips of decopatch paper, once done gve a good smothering of PVA to varnish.
3) Simple paint designs. Once painted it’s base colour just use a simple design on your egg with silver or gold or another acrylic colour. Stripes are always a winner.
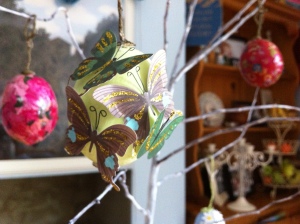
4) Stickers. So simple and easy yet the most effective I think. Hobycraft have a good selection of crafty stickers, like these butterflies. I used butterflies and daisys. Simply stick them on to your painted egg. Layer the for dramatic effect. You could use transport stickers or even letters for a less feminine theme.
5) A paint / sticker combo…
Hang all your eggs from an Easter tree (I used a branch from the garden which I painted white). Then give as Easter presents, a lovely alternative to chocolate (or save them for next year!).


This is gorgeous! I had no idea how to blow eggs…. So copped out and bought polystyrene ones 😉 will be trying this idea though xx